Instructions: Changing the accumulator of the Renault Quickshift gearbox
Partager
Changing a pressure accumulator on a Renault Quickshift gearbox may seem intimidating, but with the right instructions, it is a completely achievable task. Follow our detailed guide to successfully perform this operation safely.
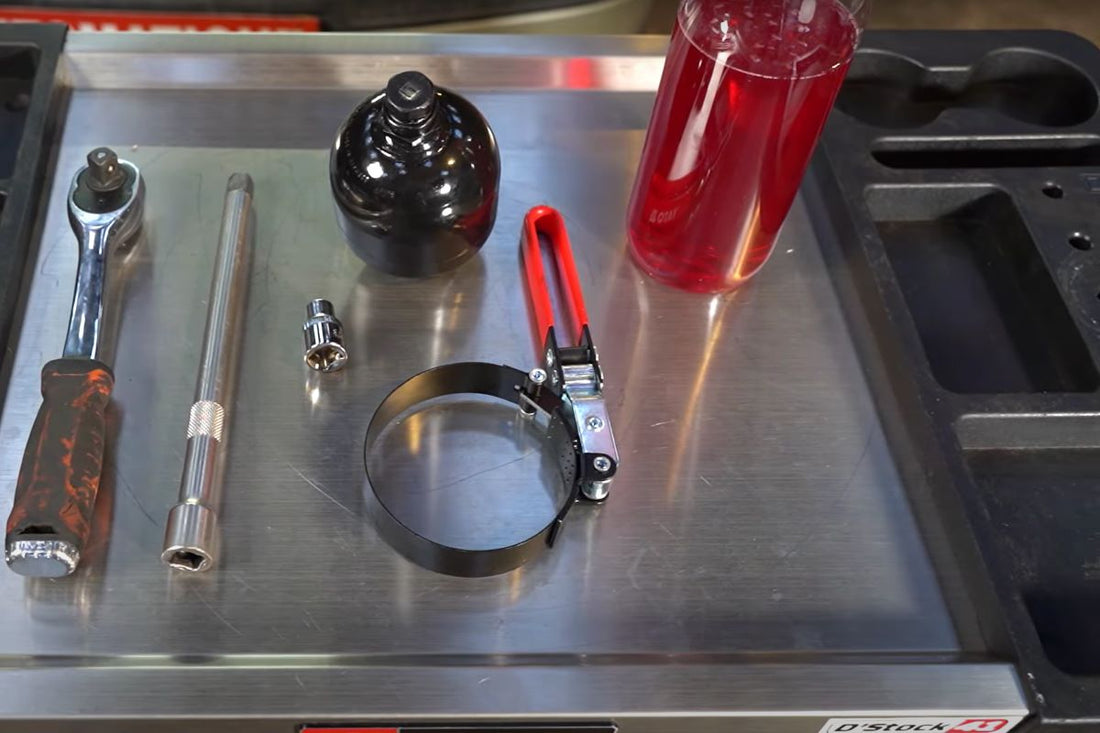
Required Equipment
- New accumulator (available at leverandco.eu)
- Sturdy filter wrench (available here)
- Robot oil (available here)
- Protective gloves
- Diagnostic case (optional)
Steps for Changing the Accumulator
1. Vehicle Securing and Preparation
Ensure the vehicle is parked on a flat surface and the handbrake is engaged. Turn off the engine and wear protective gloves.
2. Pressure Reduction in the Gearbox Robot
It is crucial that the pressure in the robot is close to zero before starting. You can use a diagnostic case to depressurize the system or leave the vehicle idle for 48 to 72 hours after disconnecting the electro-pump or the battery.
3. Disconnection and Removal of the Old Accumulator
Use the filter wrench to unscrew the accumulator by pushing forward. Ensure the pressure is low enough to avoid any danger.
4. Installation of the New Accumulator
Position the new accumulator and screw it tightly using the filter wrench. Ensure it is securely fastened to prevent any leaks.
5. Verification and Finalization
Reconnect the electro-pump or the battery and start the vehicle to check that everything is functioning correctly. Add oil if necessary and test the gears.
Tips and Precautions
- Safety: Never attempt to remove a high-pressure accumulator.
- Maintenance: Regularly check the condition of components to prevent future issues.
- Original Parts: Always use new parts to ensure reliability.
Continuing with Your Car Maintenance
Regular and proper maintenance of your gearbox components is essential to ensure its longevity and proper functioning. For more information or to purchase parts, visit our website leverandco.eu.